Embroidery machines are not familiar with typical pictures, such as JPEG or PNG. They also need special files called embroidery design files, which contain instructions on how to stitch. Digitizing is the conversion of a picture, logo, or artwork into an embroidery file.
Many embroidery machine owners ask: How do I convert an image into an embroidery design file? Embroidery machines cannot read JPEG or PNG images directly. They require special embroidery design files such as PES, DST, or JEF. In this guide, you’ll learn exactly how to convert any image into an embroidery-ready file using digitizing software, step by step. This tutorial describes the process of transforming any image into an embroidery design file and the type of software to be used, as well as hints on producing professional results.
What Is an Embroidery Design File?
An embroidery design file is a digital file that is machine-readable and that contains instructions to an embroidery machine on precisely how to stitch a design onto a piece of fabric. Also, they have very specific data that is used to control every step of stitching, unlike standard image files (like JPG or PNG). Such files make certain that designs are reproduced with uniformity, precision, and with appropriate thread motions.
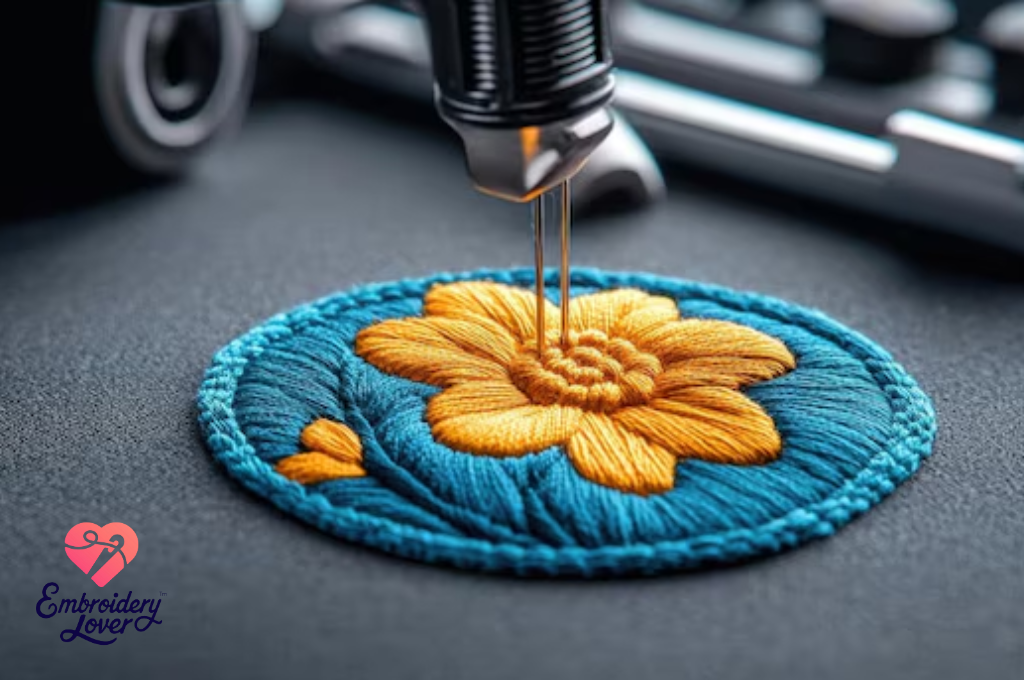
Popular embroidery file formats include PES, DST, JEF, VP3, EXP, HUS, and XX, each of which is compatible with specific brands of embroidery machines: Brother, Janome, Bernina, or Husqvarna. It is important to select the right file format since not all machines are readable with all types.
An Embroidery Design File consists of:
- Stitch Type Instructions: Determines the type of stitches to be used in a design outline, fill stitches to be used in the larger regions, or running stitches to be used in the finer details of the design.
- Stitch Direction and Density: These parameters are used to determine the arrangement of the threads and the spacing of the threads to ensure that there is smooth coverage without puckering or vacuity.
- Color Changes and Thread Sequence: This gives instructions to the machine as to when to pause, replace thread colors, and resume the proper order of stitching.
- Hoop Placement and Size: Make sure that the design is scaled and placed in the embroidery hoop.
A machine will not read a design without a file containing an embroidery design. You can upload a typical image, but the machine does not know where to put the stitches, or even where to manage the color change. This is the reason why digitizing (converting artwork into an embroidery-ready file) is necessary.
Why You Can’t Directly Use JPEGs or PNGs
Novices think that the process is simple: you put a JPEG or a PNG into your embroidery machine like you do when printing a photograph, but do not expect embroidery to behave like printing. JPEGs and PNGs are pixel-based image formats and, as such, they can provide only visual data (colours and shapes) on a display screen. They do not have any technical information relating to stitching.
Embroidery machines, in their turn, need stitch information, that is, particular instructions on where the stitches start, run, whether they are dense or sparse, and when the thread color should be changed. This type of information is nonexistent in a normal picture file.
For example:
- A JPEG of a flower can display a shade of pink, but the machine will not be capable of knowing whether to use satin, fil, or running stitches.
- An image of a logo in the PNG format can be sharp, but the machine would be unaware of what thread order, stitching density, and where the hoop is.
That is why an image file has to be digitized in the first place in a suitable embroidery file format (PES, DST, JEF, or VP3). The digitizing process may be performed either by hand using a professional digitizer or using special embroidery software. This process breaks down all the elements of the artwork into stitch commands that can be followed by machines.
To make a point, the JPEGs and PNGs can be used to view and share the designs, but cannot be used to embroider the information until they have been digitized into machine-readable files.
How to Convert an Image into an Embroidery: File Step by Step
Step 1: Choose the Right Image
- Select clear, high-resolution artwork.
- Avoid overly detailed photos—simpler images convert better.
- Logos, line drawings, and vector art are ideal starting points.
Step 2: Select Embroidery Digitizing Software
To convert images, you’ll need embroidery digitizing software. Popular options include:
- Wilcom Hatch – Professional, feature-rich digitizing.
- Brother PE-Design – Great for Brother machine owners.
- Embrilliance – Beginner-friendly with editing tools.
- Ink/Stitch (Free) – Open-source embroidery digitizing extension for Inkscape.
- SewArt – Affordable option for simple conversions.
Step 3: Import the Image into the Software
Upload your chosen image file (PNG, JPEG, or vector). Most programs allow you to resize, crop, or clean up the design before digitizing.
Step 4: Digitize the Image
Digitizing involves assigning stitch types and directions:
- Outline/Strokes – Use running or satin stitches for borders.
- Fills – Use fill stitches for large color blocks.
- Details – Assign small satin stitches or manual stitch placement for fine detail.
- Color Mapping – Define thread colors to match your image.
Some software offers auto-digitizing, but manual adjustments almost always produce better quality.
Step 5: Set Size and Hoop Parameters
Always define the hoop size your machine supports (e.g., 4x4, 5x7, or 6x10 inches). Resizing after digitizing can distort stitches, so get dimensions right at this stage.
Step 6: Preview the Stitches
Most software allows you to preview the embroidery simulation. This lets you check stitch density, direction, and thread changes before exporting.
Step 7: Save in the Correct File Format
Export the file in a format compatible with your machine:
- Brother / Baby Lock – PES: The most widely used home embroidery format. It stores stitch information and thread colors, making it ideal for beginners and hobbyists.
- Janome – JEF: The standard file for Janome machines. It ensures smooth operation and accurate stitch sequencing, especially for smaller hoop sizes.
- Husqvarna Viking / Pfaff – VP3 or HUS: VP3 is the newer, more advanced format, while HUS is older but still supported. Both work for these machine brands and preserve color and stitch data well.
- Tajima / Industrial Machines – DST: The most universal commercial embroidery format. DST files focus on stitch commands rather than color data, making them highly reliable for large-scale production.
- Bernina – EXP: Used by Bernina embroidery machines, EXP files are often paired with additional color chart files to ensure designs stitch exactly as intended.
Step 8: Test Stitch-Out
Always test your design on scrap fabric before applying it to the final product. Adjust stitch density, underlay, or color changes if needed.
Common Mistakes to Avoid
- Overly complex images – Too much detail creates unreadable stitches.
- Ignoring stitch density – Too dense causes thread breaks; too loose looks incomplete.
- Wrong file format – Ensure the file is compatible with your specific machine.
- Skipping test runs – Final projects can be ruined without test stitching.
- Relying only on auto-digitizing: Manual adjustments are necessary for professional quality.
Auto-Digitizing vs. Manual Digitizing
Auto-Digitizing
- Fast and easy.
- Best for simple logos or shapes.
- Often needs manual corrections.
Manual Digitizing
- Professional-level results.
- Complete control over stitch types and density.
- More time-consuming and requires skill.
Most experienced embroiderers use a mix of both—starting with auto-digitizing, then fine-tuning manually.
Applications required for Image conversion.
To turn an ordinary picture (such as a JPEG or PNG) into an embroidery file, a sewing machine is not the only one that is required. A set of software, hardware, and materials will be required to make sure that the software can be digitized, and the stitching process is easy.
Embroidery Digitizing program.
This is the most necessary tool. In converting artwork into machine-readable embroidery formats (PES, DST, JEF, VP3, EXP, etc.), the digitization of the artwork is performed. Some of the popular programs are Wilcom, Hatch, Brother PE-Design, Bernina ArtLink, and Embird. These enable you to determine the type of stitches, density, sequence, and the thread colour.
A Personal Computer having Adequate graphics capabilities.
Work that is graphics-intensive is digitizing. A computer having a high processor, sufficient RAM (minimum of 8GB suggested), and a decent graphics card will guarantee that the software will run well. A bigger monitor also comes in play when fine details in complicated designs are to be refined.
Embroidery Machine
After digitizing the file, you will have to test the file and stitch it with a compatible embroidery machine. Various machines accept various formats, and thus ensure that your digitized file is according to the requirements of your machine (e.g., Brother = PES, Janome = JEF).
Stabilizers
Stabilizers are also used beneath the cloth to ensure it does not stretch, pucker, or distort when it is being stitched. Tear-away stabilizers are useful in testing digitized designs on stable fabrics, whereas cut-away stabilizers are used on stretch fabrics.
Threads and Needles
Embroidery threads are made of polyester or rayon of high quality, making your design come to life. Diffusion of thread colors is useful in order to match your digital design. In addition, embroidery needles must be used to provide a smooth and uninterrupted stitching and avoid thread breakage.
Fabric for Test Stitch-Outs
Digitized design always needs to be tested on scrap fabric prior to applying it to the final garment or product. This enables you to examine stitch density, color sequence, and clarity in general and vary it where necessary.
Average Costs for Digitizing
- DIY software purchase: $100 – $1,500+ (depending on brand and features)
- Professional digitizing service: $10 – $50 per design (based on complexity and stitch count)
For hobbyists, outsourcing is often cheaper. For businesses, investing in software offers long-term value.
Business Potential in Image to Embroidery Conversion
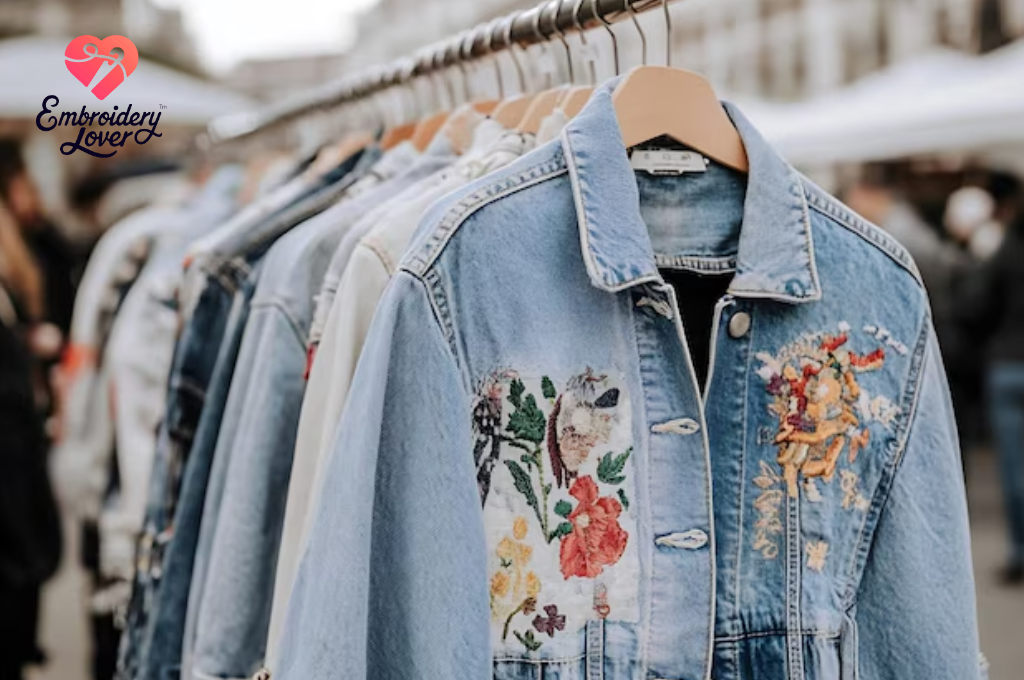
Digitizing images to embroidery files or converting pictures to embroidery files are not only a useful skill but, business-wise, a lucrative venture. As the need for customized products increases, the demand to digitalize the services and sales of embroidery designs is quite high in various industries.
Business Embroidery (Logos).
Companies frequently desire their logos to be embroidered on uniforms, caps, tote bags, or promotional items. They can have their logos digitized by providing digitizing services and then sell both the digitizing and the end products stitched. This generates repeat business because companies repurchase regularly.
Customized Gifts and Souvenirs.
Embroidery provides a sentimental touch on otherwise regular things, so as baby clothes, wedding towels, anniversary blankets, monogrammed accessories, and others. One-to-one embroidery is a niche that has been thriving in such spaces as Etsy or Amazon Handmade, a